Import custom maps by using placemark attachments
Posted on Categories Custom Maps
1. Import instructions
To prevent system lags when loading large images as placemark attachments, you can import the attached images to custom maps. This way, the map browsing experience is tremendously optimized.
2. Procedure
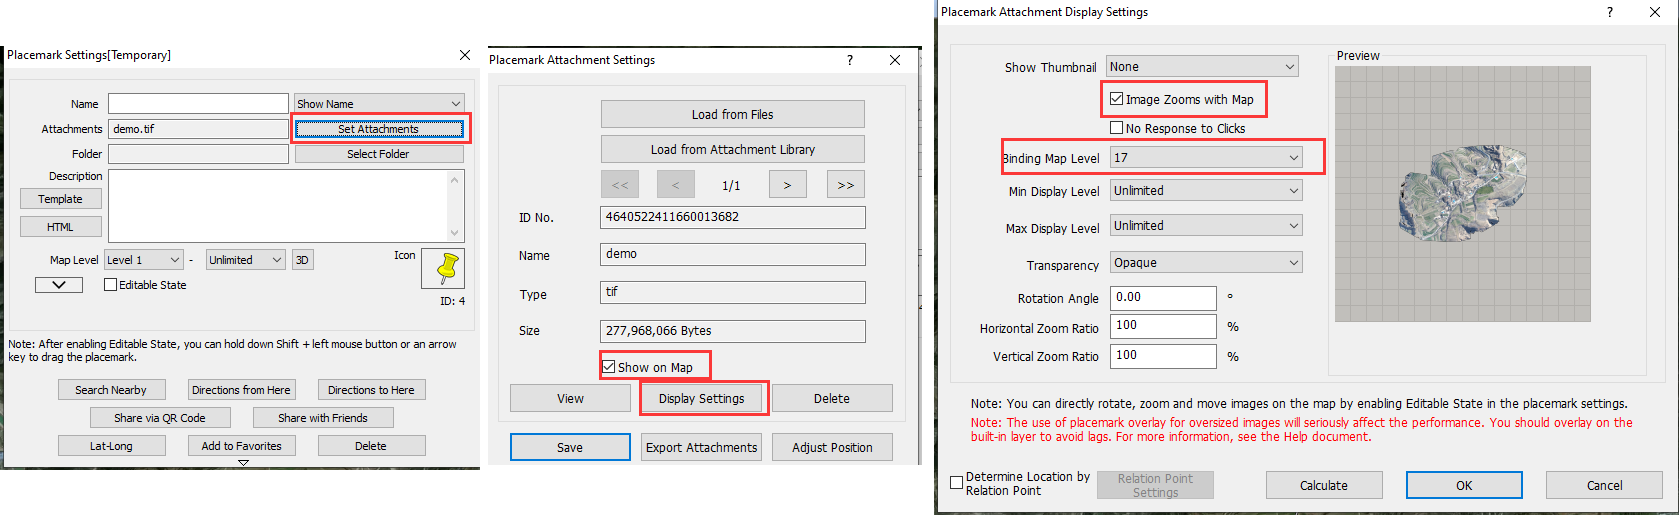
Find the placemark on the map, then click the  button. In the [Placemark Settings] dialog box, click [Set Attachments]. In the [Placemark Attachment Settings] dialog box, select [Show on Map], and click [Display Settings]. In the [Placemark Attachment Display Settings] dialog box, select [Image Zooms with Map], set the map level, and click [OK].
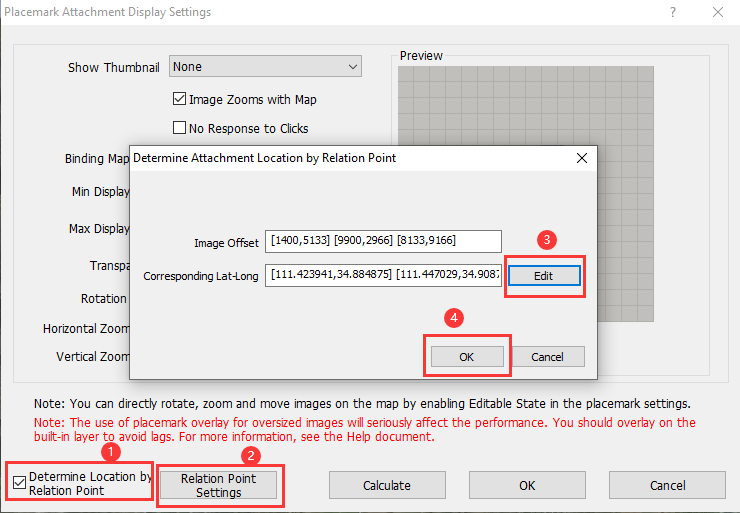
If you need to adjust the image position or zoom ratio, you can select [Determine Location by Relation Point] and click [Relation Point Settings] in the lower-left corner. For more information, see the help document “Import custom maps by using relation points.”
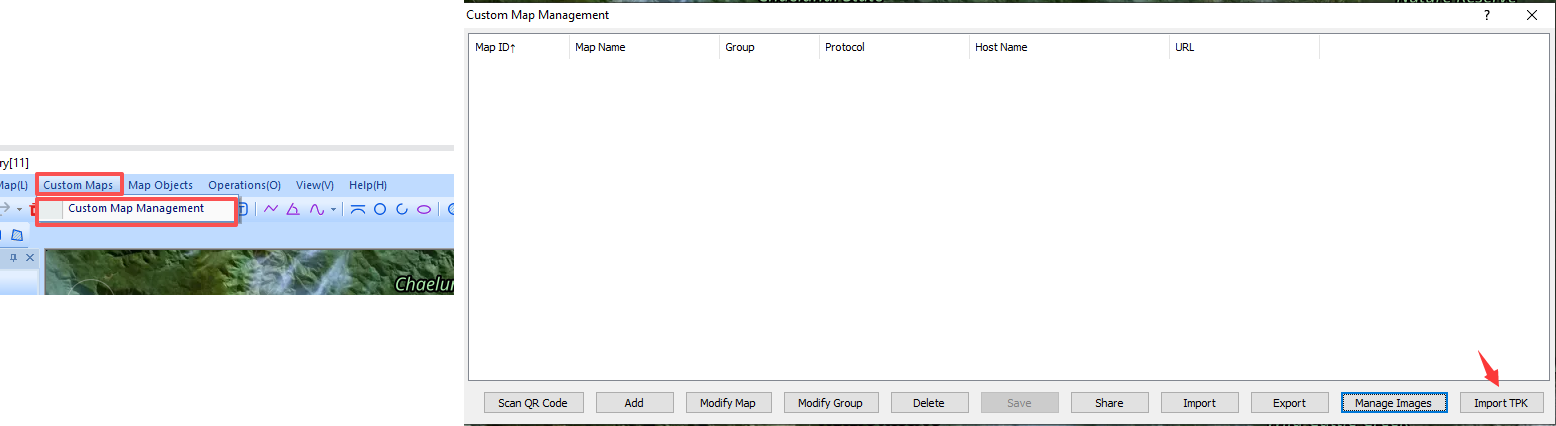
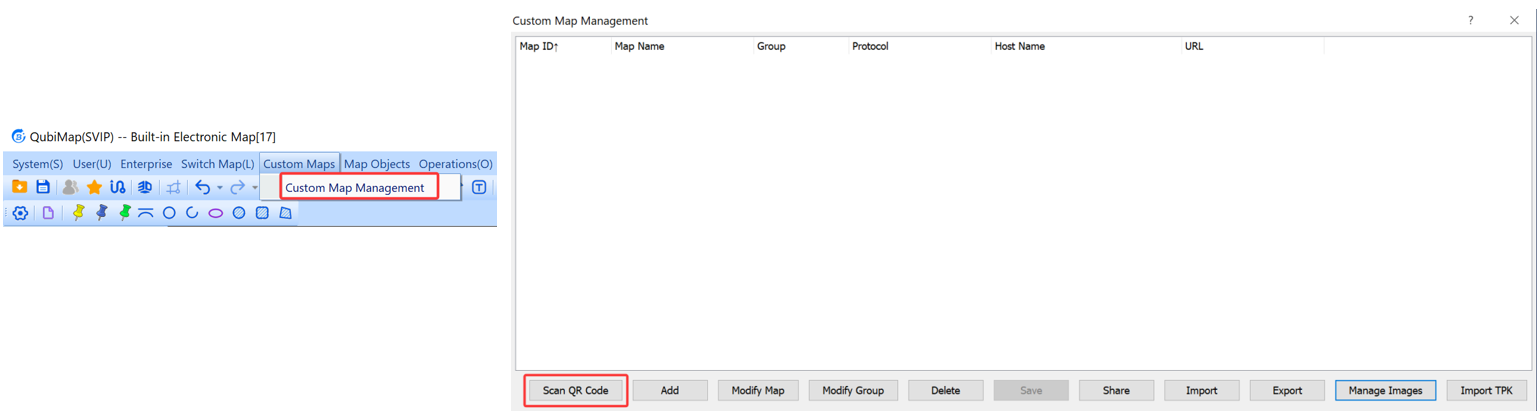
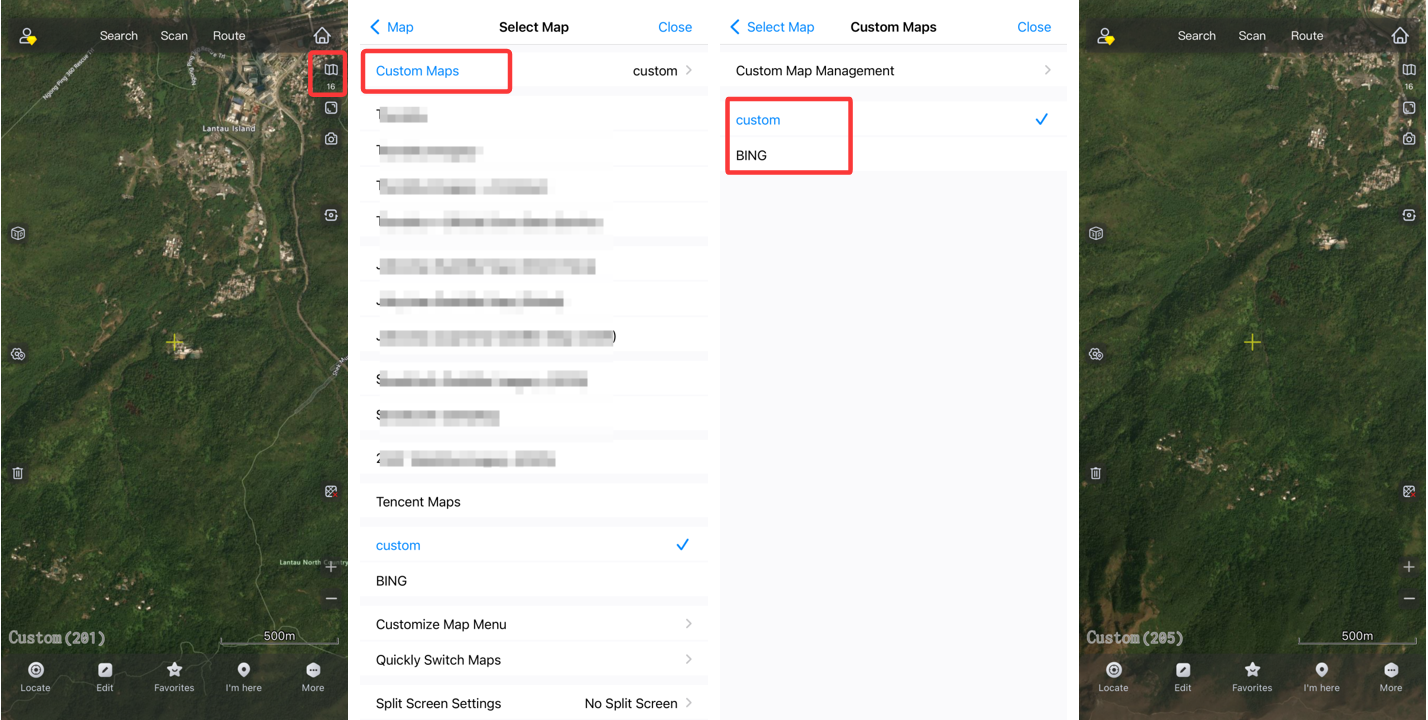
On the main UI, choose [Custom Maps] > [Custom Map Management].
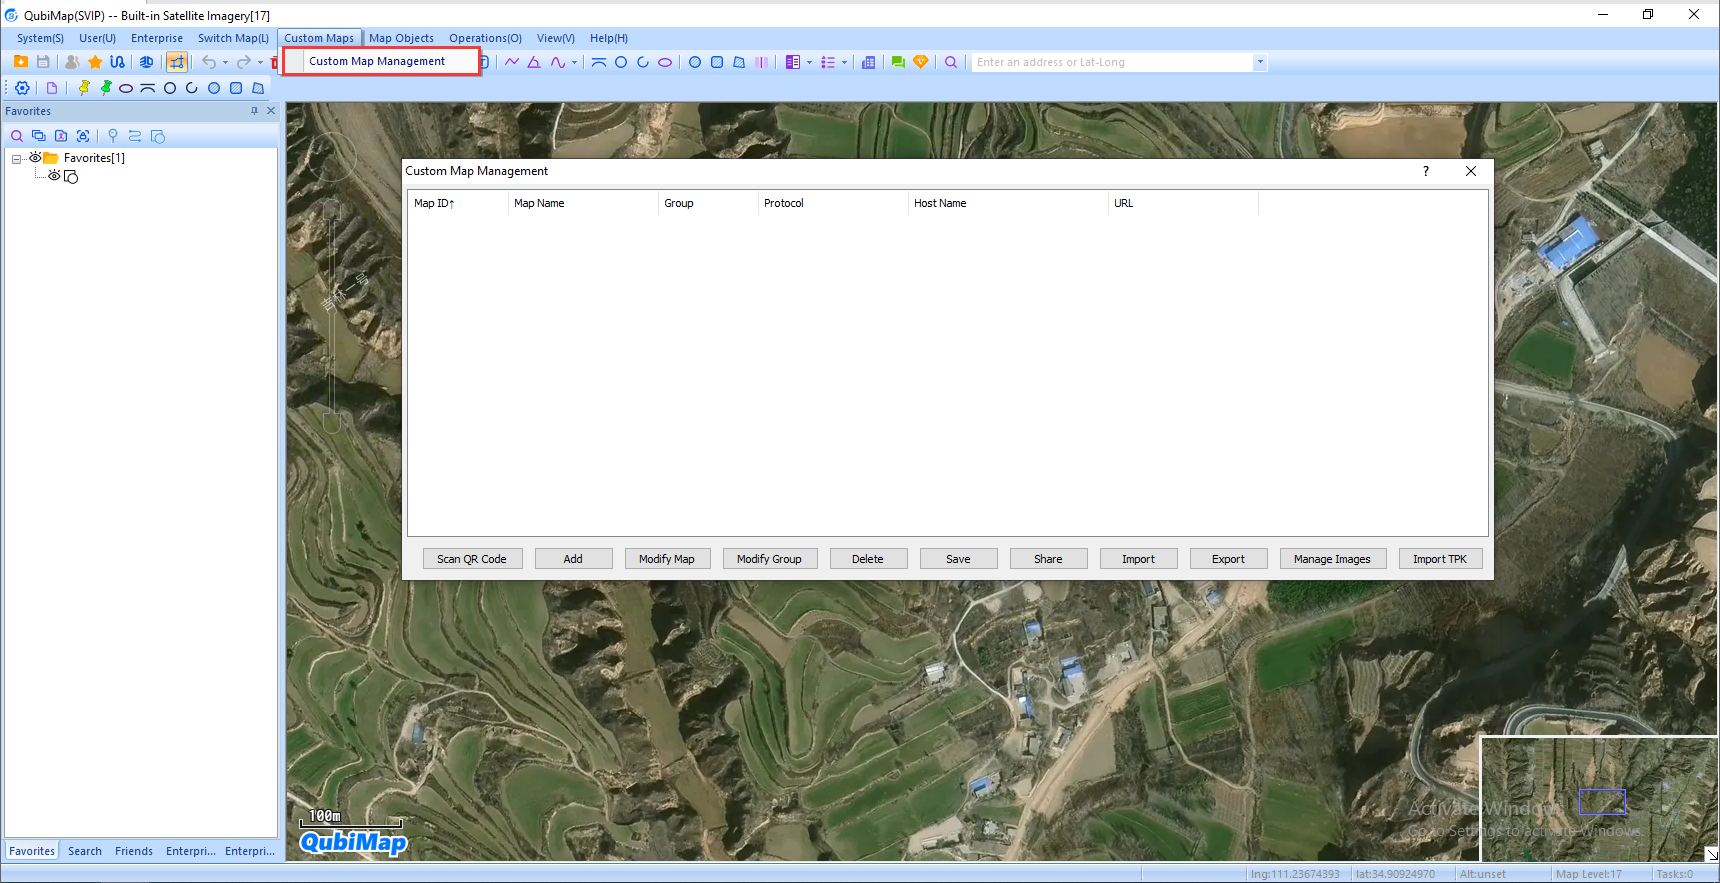
In the [Custom Map Management] dialog box, click [Add] and select [Add Custom Map] from the drop-down list.
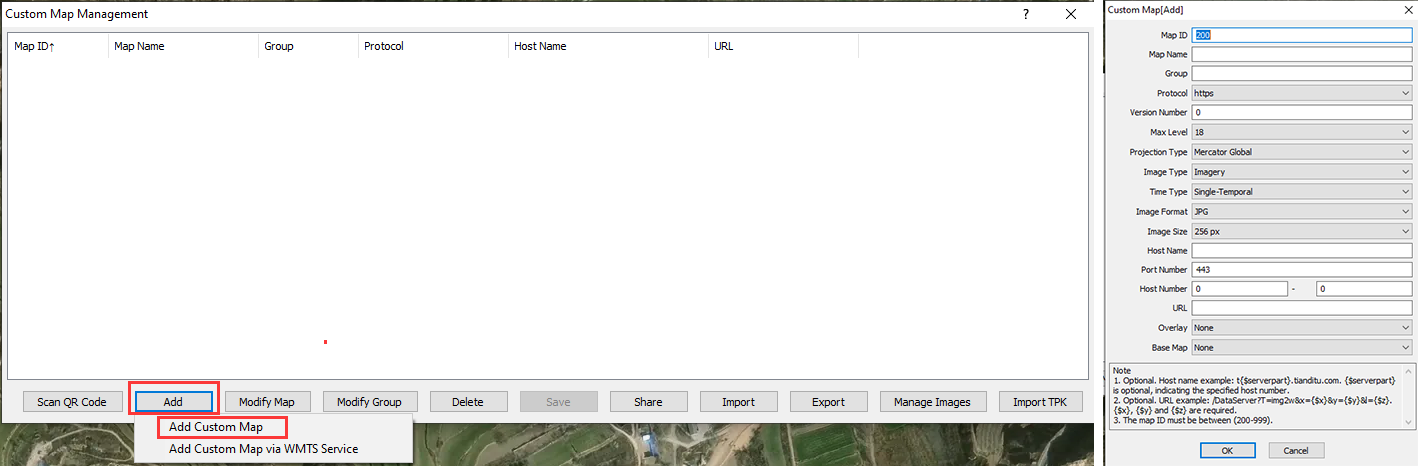
In the dialog box that appears, set the parameters and click [OK]. The added map layer is displayed in the custom map list.
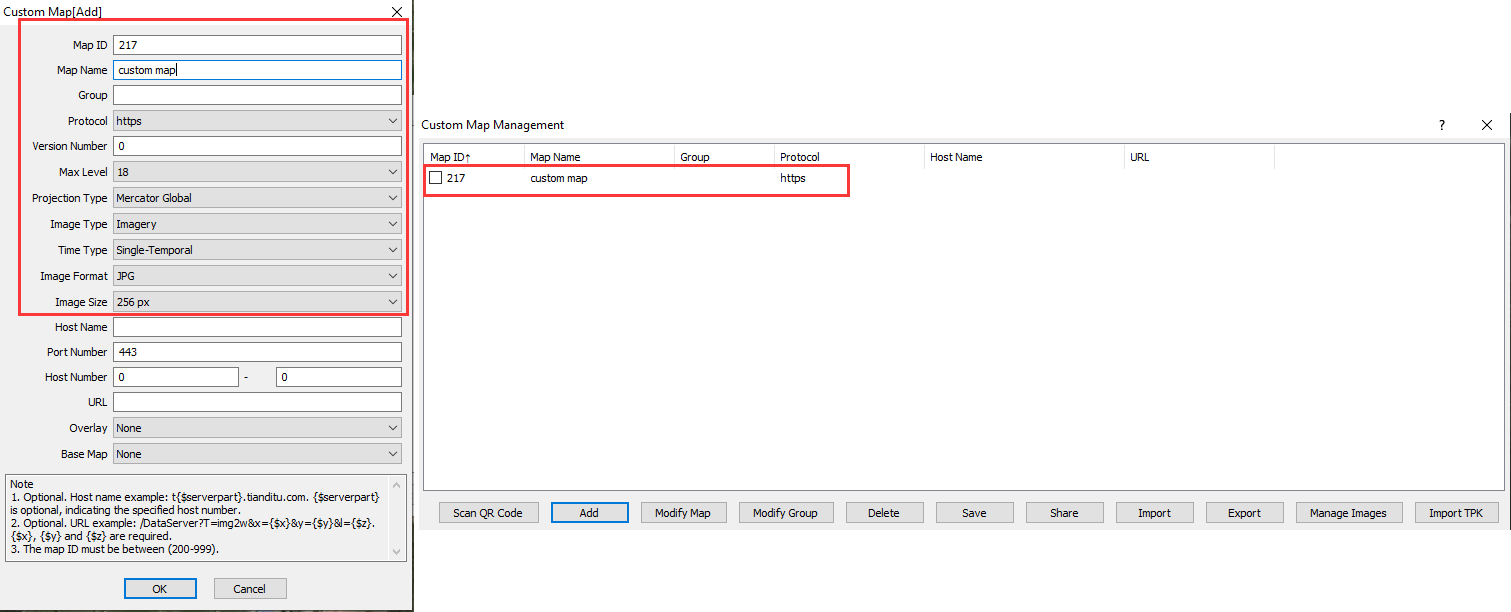
★ Parameters:
① Map ID: a unique ID number assigned to each custom map, ranging from 200 to 999.
② Map Name: the name of the map displayed in the custom map list.
③ Max Level: the highest display level of this map.
④ Projection Type: Select [Mercator Global].
⑤ Time Type: Select [Single-Temporal] or [Multi-Temporal (Historical Images)] as needed. For more information about multi-temporal images, see the help document “How to add multi-temporal (historical) images to a custom map”.
⑥ For other parameters, you can keep the default values.
In the [Custom Map Management] dialog box, select the custom map and click [Manage Images].
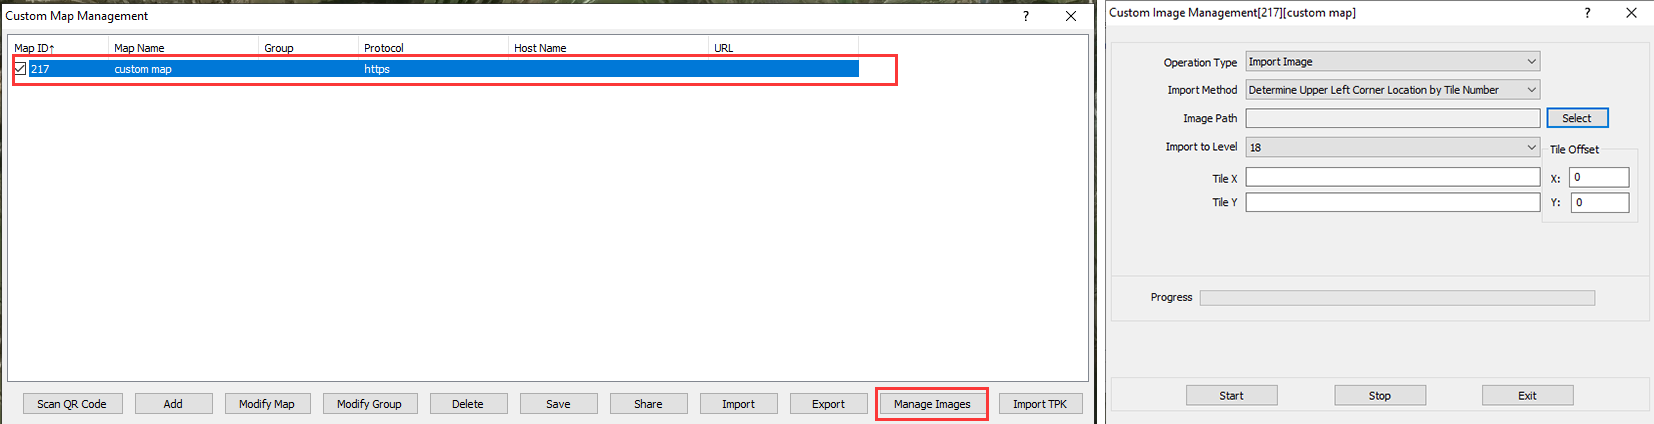
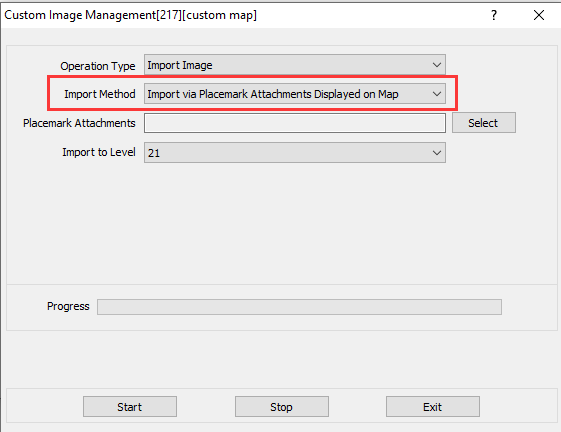
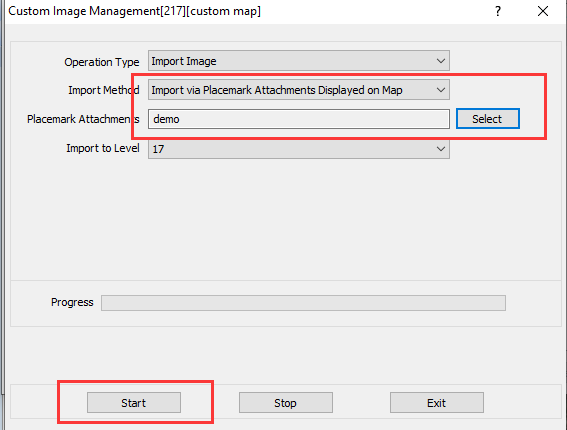
In the [Custom Image Management] dialog box, select [Import Image] for the [Operation Type] parameter, select [Import via Placemark Attachments Displayed on Map] for the [Import Method] parameter, and then click [Select] next to [Placemark Attachments]. Select one or more placemarks to which the required images are attached and click [OK]. Click [Start] to start importing.
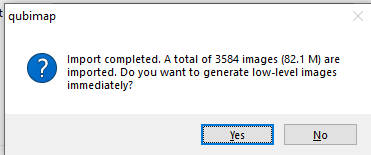
After the import is completed, click [Yes].
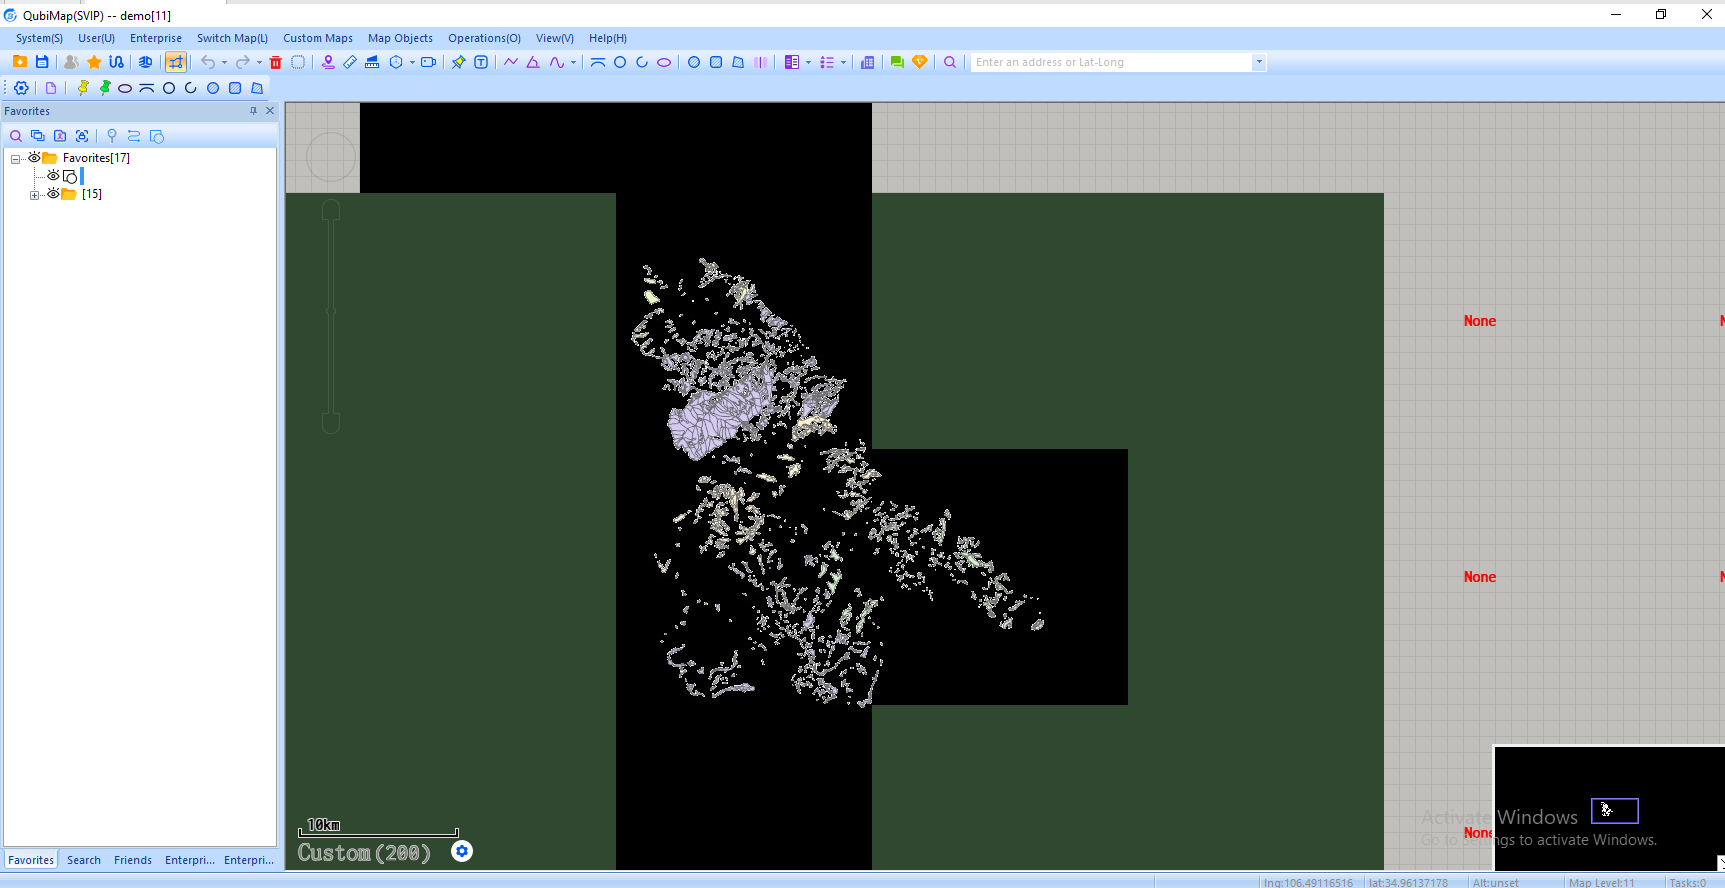
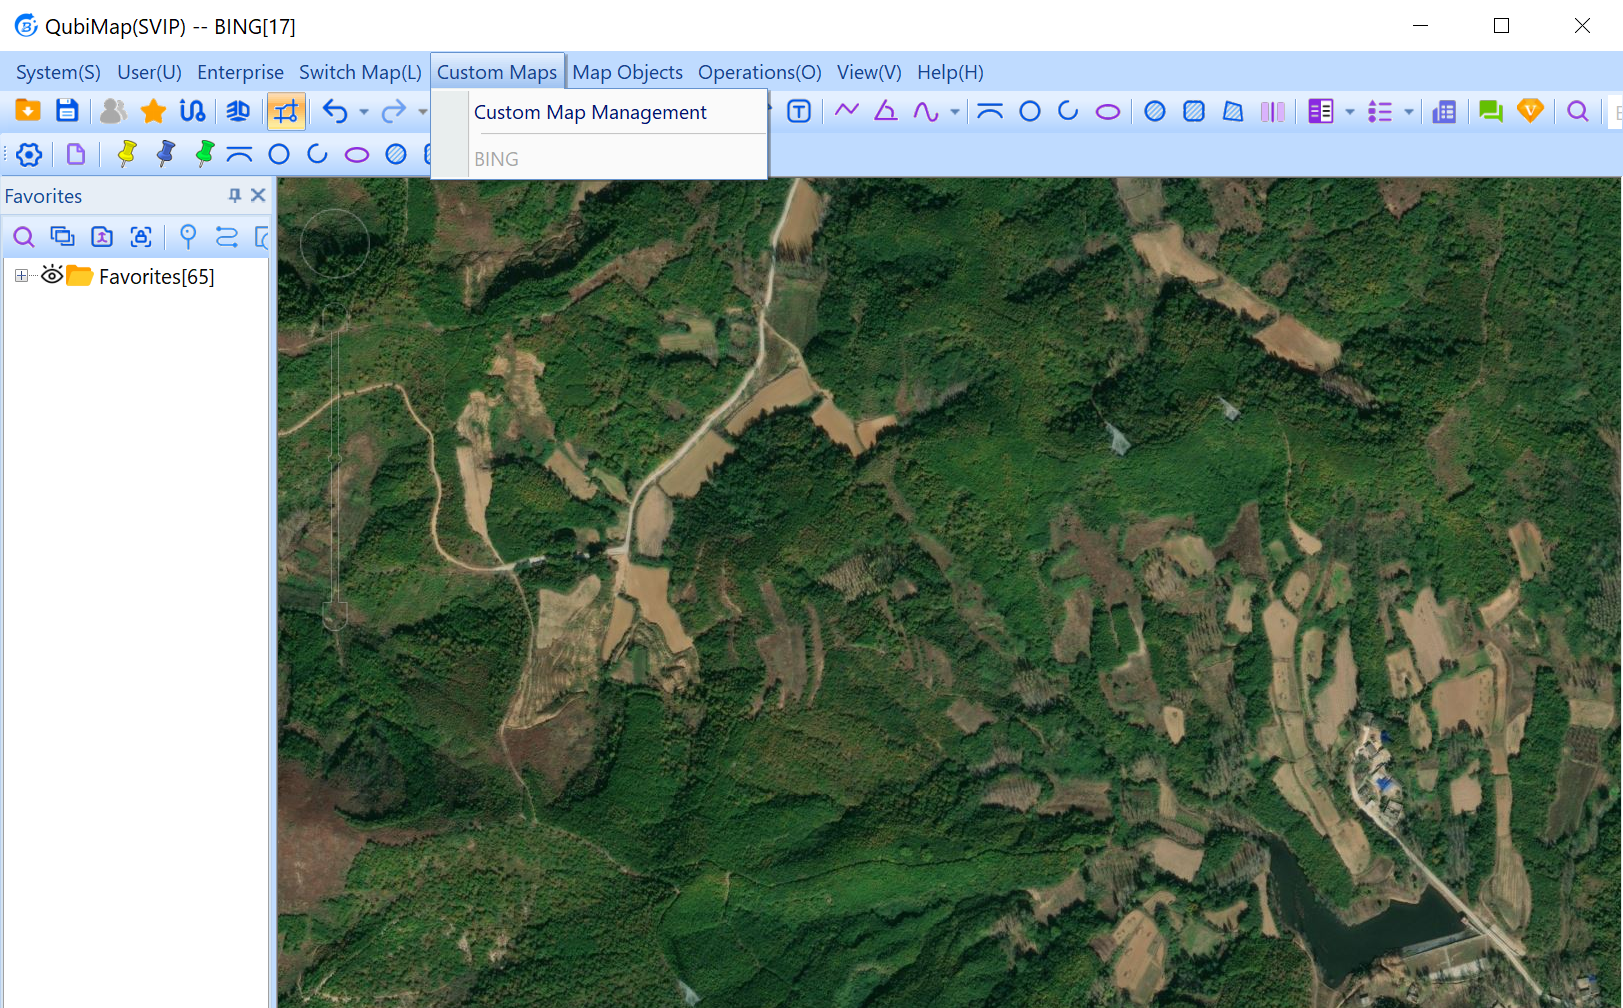
On the main UI, switch to the custom map that is added, and you can view the imported images.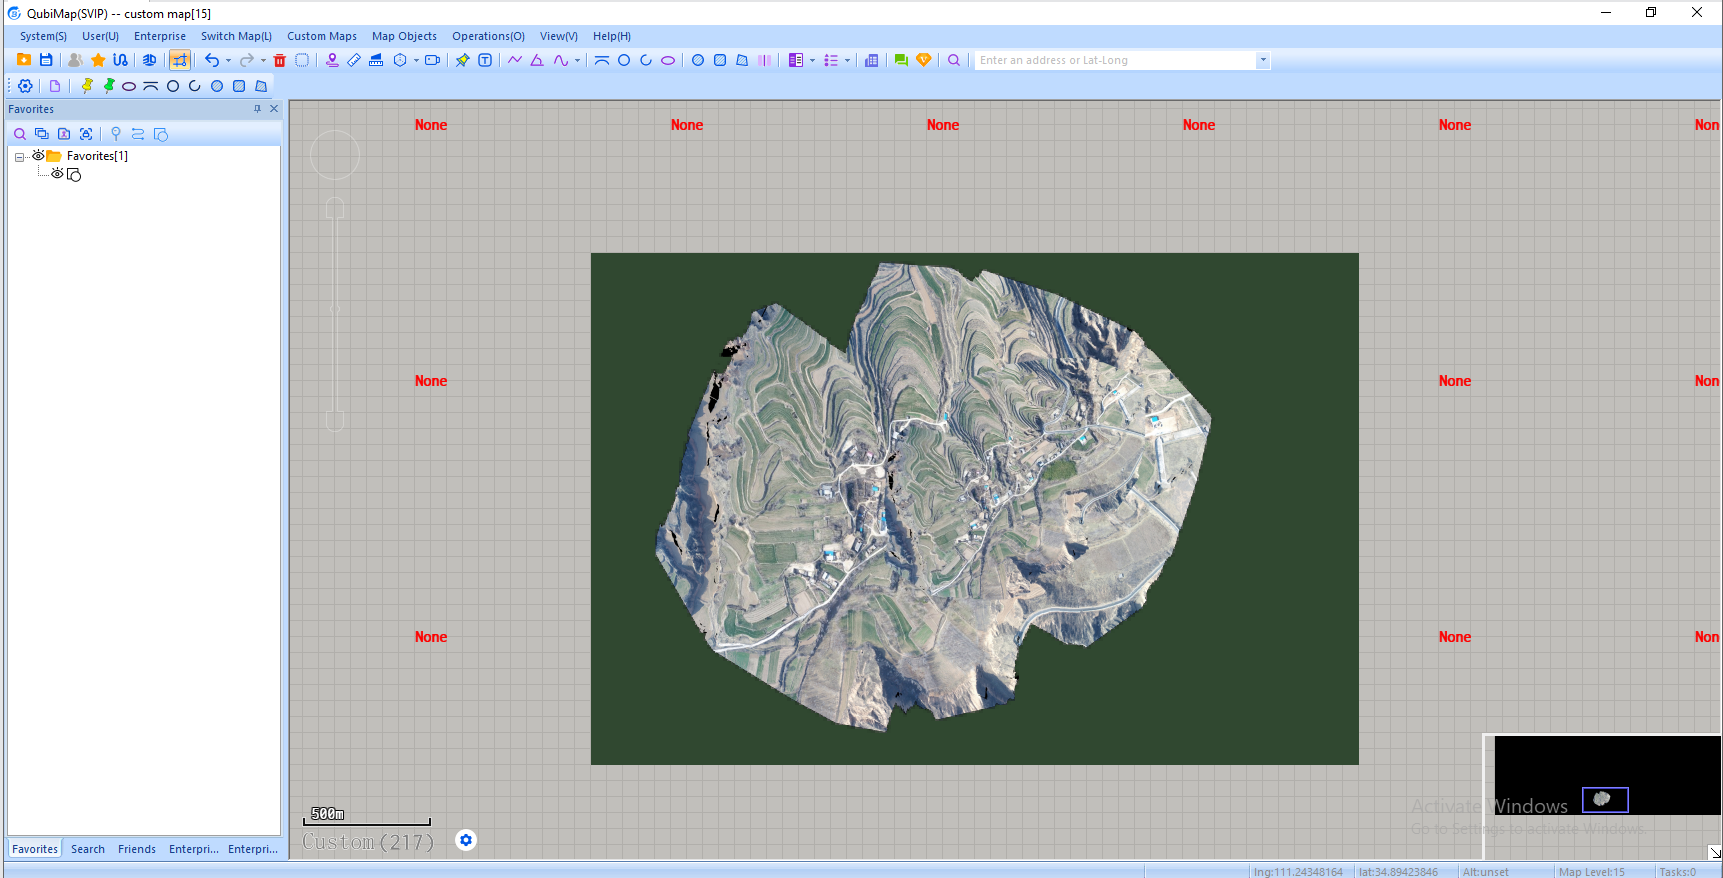
For information about how to set map overlays, see the help document “How to import aerial images and set map overlays“.