How to use advanced features of tracks
Posted on Categories Object Editing
QubiMap provides various advanced features of tracks. This article describes how to use these track features.
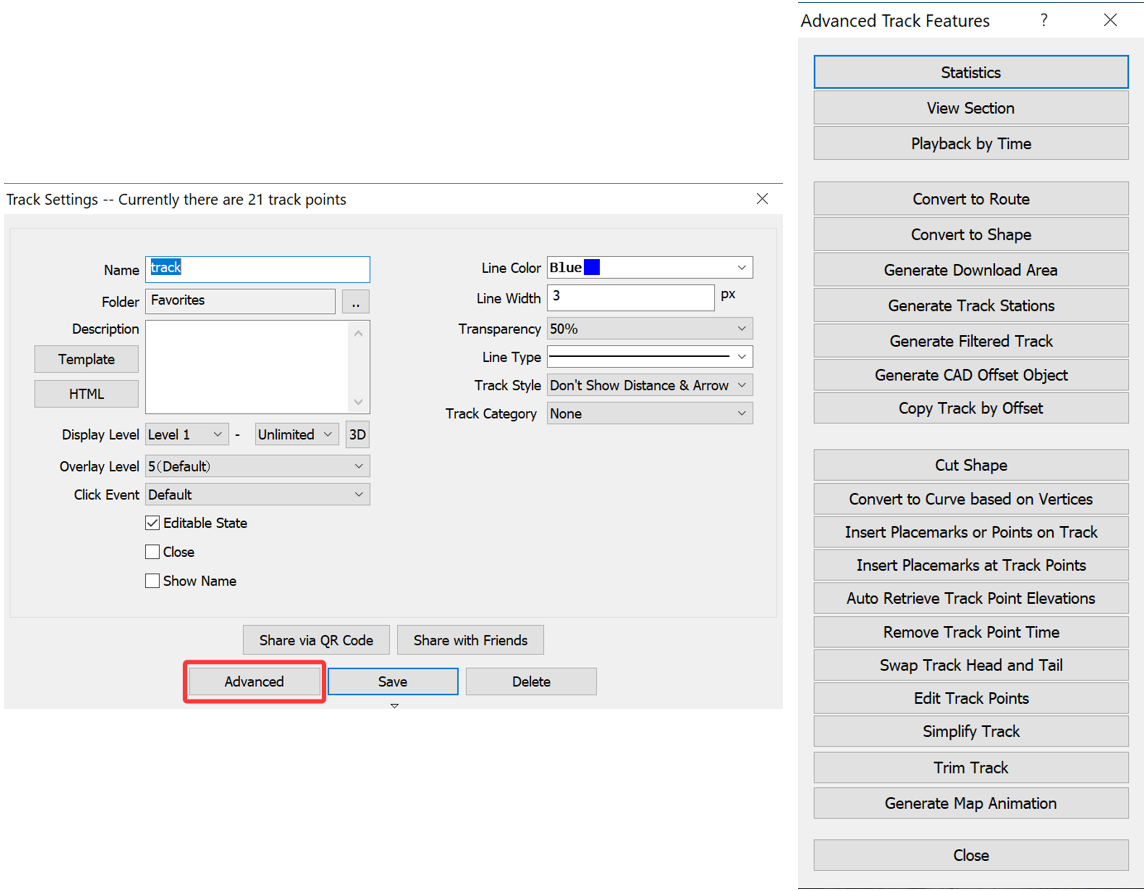
Click on a track on the map. In the [Track Settings] dialog box that appears, click [Advanced]. In the [Advanced Track Features] dialog box, you can select the required feature from the list.
1) Statistics: View the track details, as shown in the following figure:
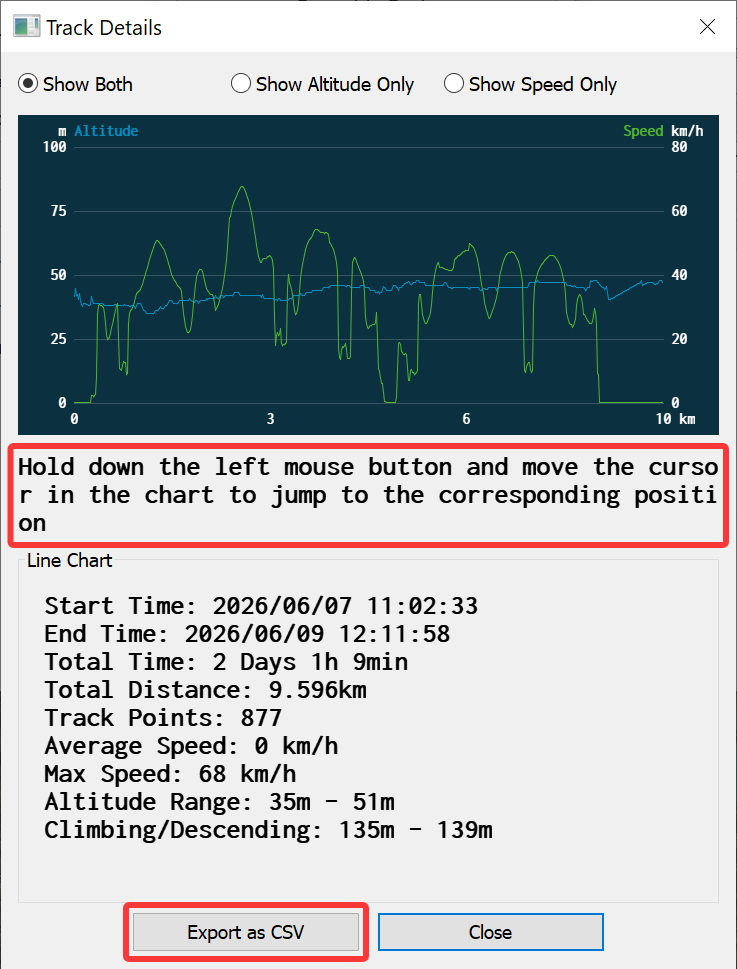
You can click [Export as CSV] to export data such as the latitude, longitude, altitude, elevation, distance, and time for each track point to a CSV file, which can be opened in Excel for further processing.

Note:
①The time information is only available for recorded tracks.
②These custom parameters are available when you enable custom track categories.
2) View Section
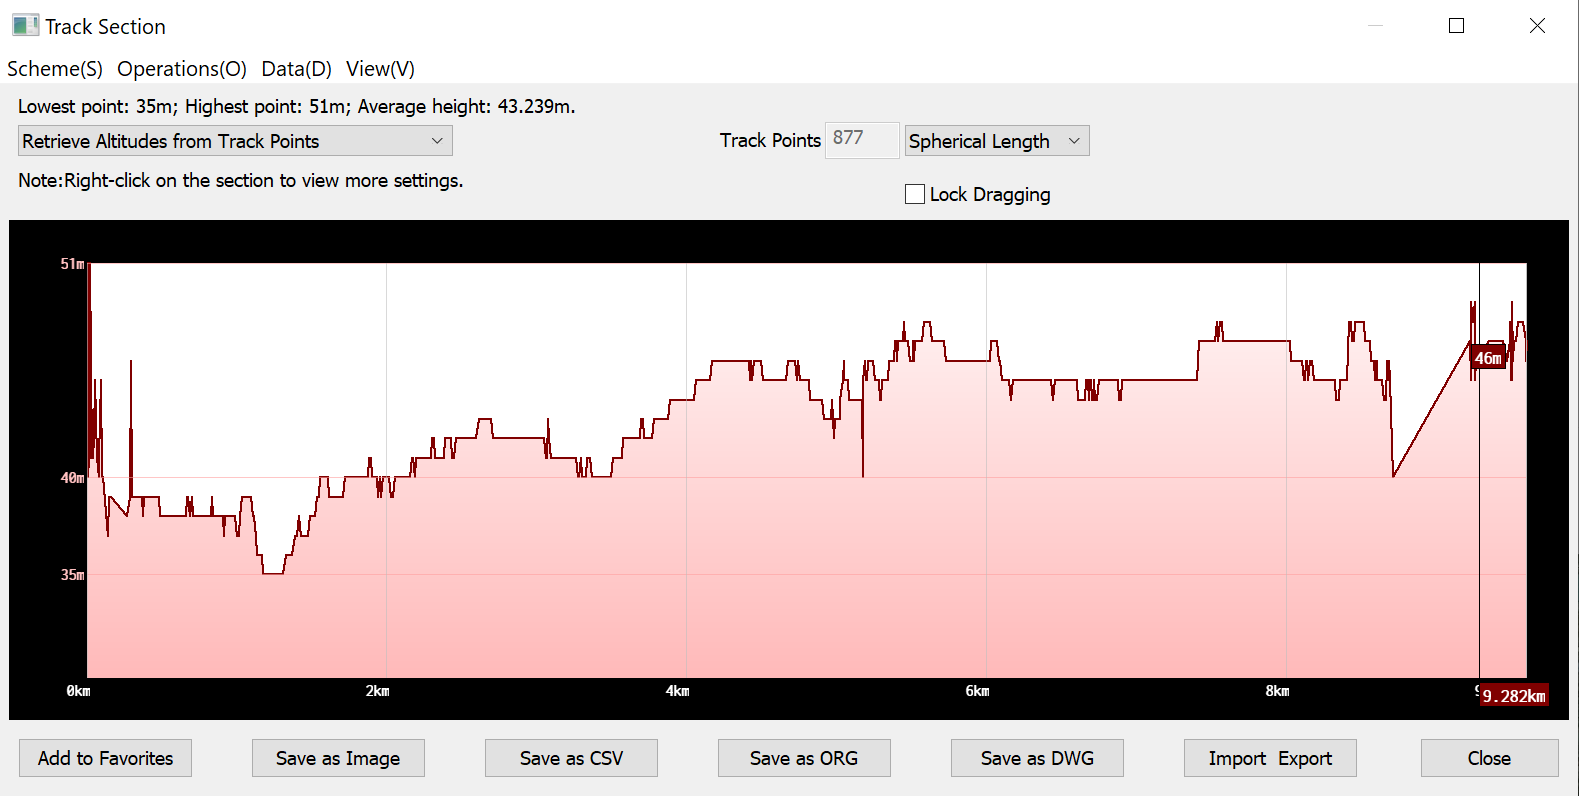
Add to Favorites: Add the track to the favorites with the naming format of Section({Time}).
Save as Image: Save the current sectional view as an image.
Save as CSV: Generate 200 equidistant track points virtually and export the track point information to a CSV file, as shown in the following figure:
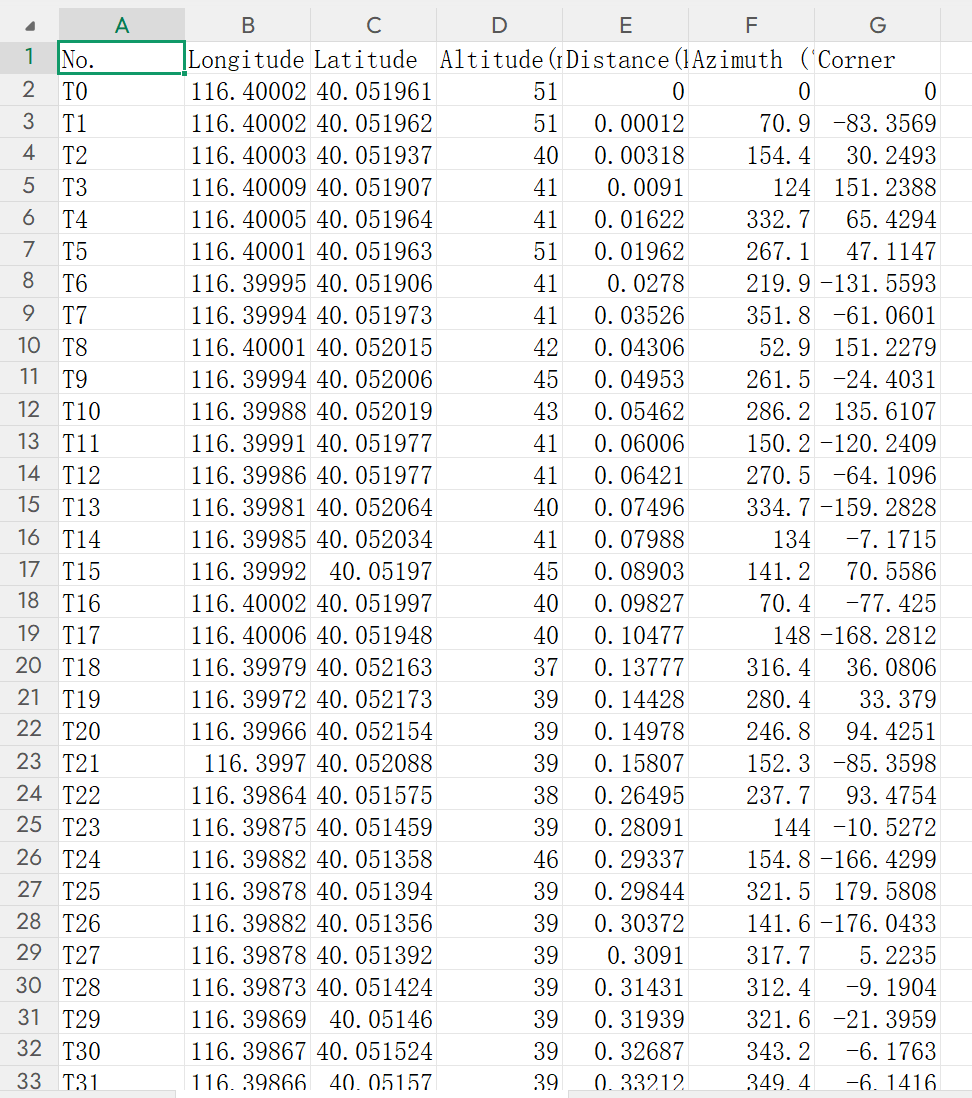
If you need to export actual track point data, please use the [Export as CSV] feature in [Statistics].
Save as ORG: Save the current sectional view in ORG format.
Save as DWG: Save the current sectional view in DWG format. You must first right-click on the section to switch to zoom mode.
Import/Export: Import survey stakes and survey points in CSV format, and LAS data; Export survey stakes in CSV format.
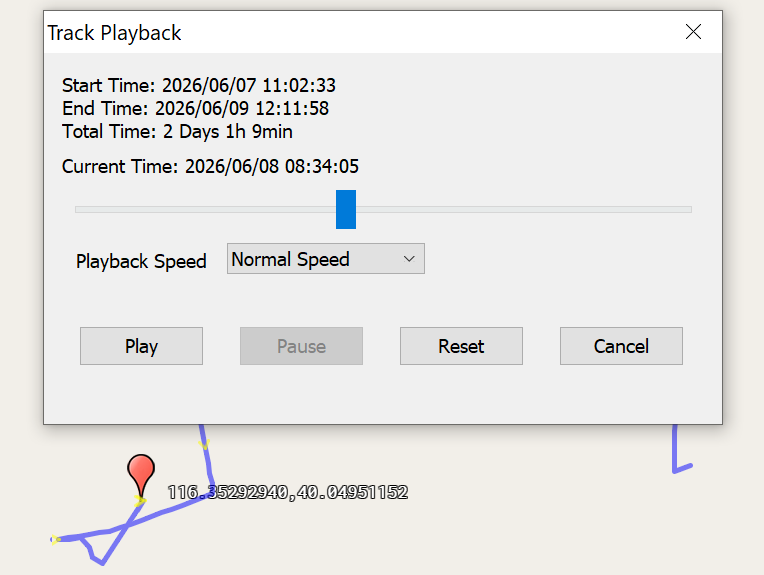
3) Playback by Time: Play the track by time. You can set the speed and click [Play] to start track playback, as shown in the following figure:
4) Convert to Route: Generate a route from the current track. You can go to the [Navigation Route Settings] dialog box and perform the required operations.
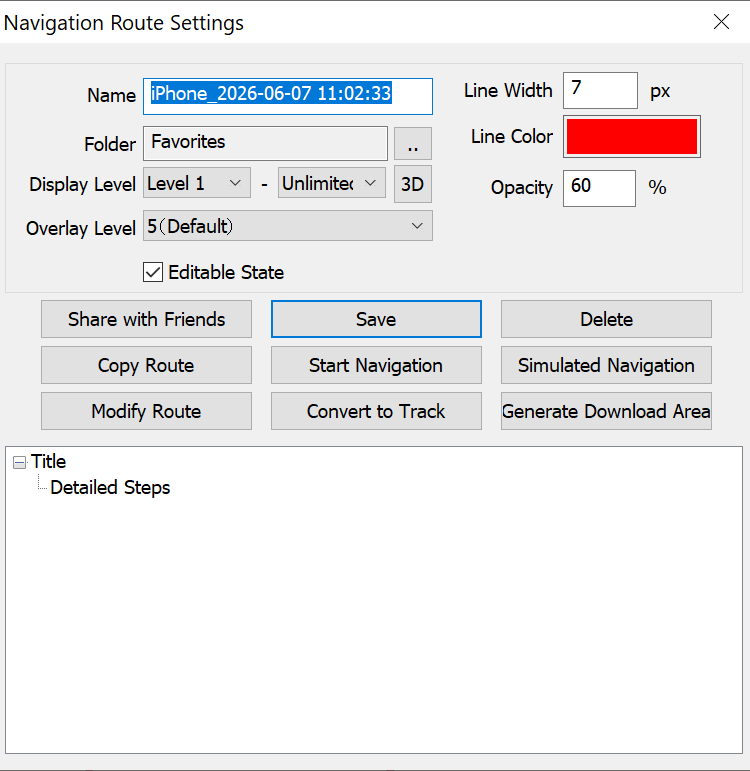
QubiMap provides the simulated navigation feature. If a GPS device is connected to your computer, you can also start navigation directly.
5) Convert to Shape: Generate a closed shape from the current track. The starting and end points of the track are connected to form the outline of the shape.
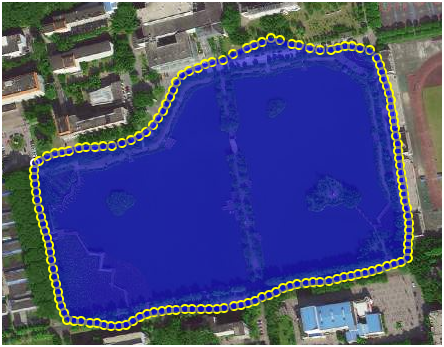
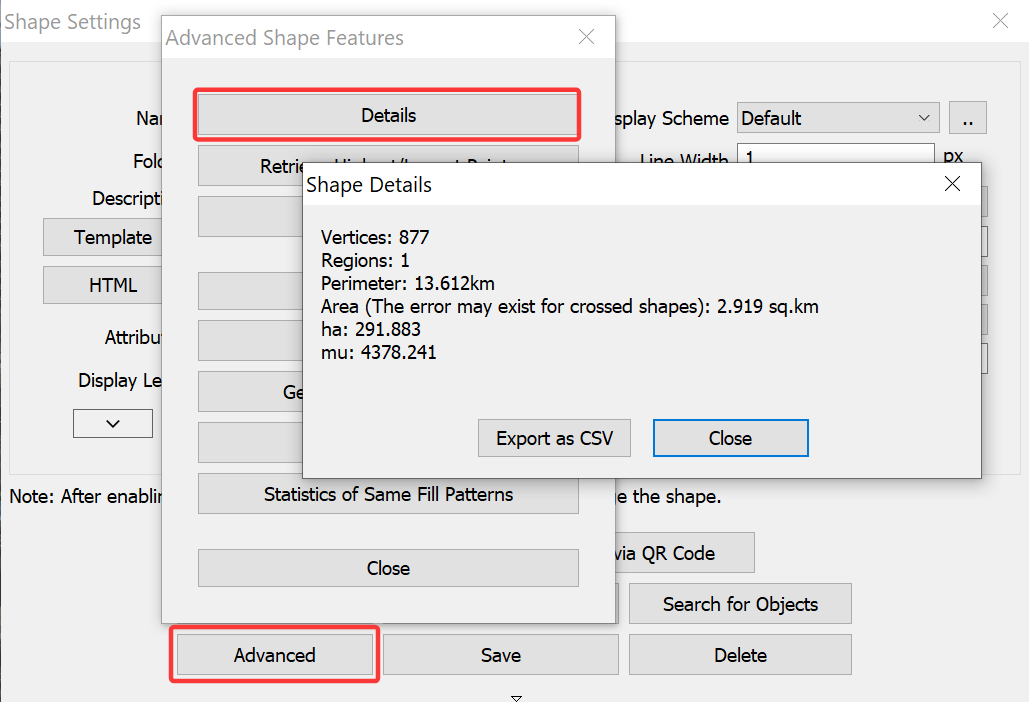
You can go to the [Shape Settings] dialog box and click [Advanced] → [Details] to view the shape details. This feature is often used to calculate land area.
6) Generate Download Area: Generate a shape area for download. You can set the parameters in the [Area Auto-Generation Settings] dialog box.
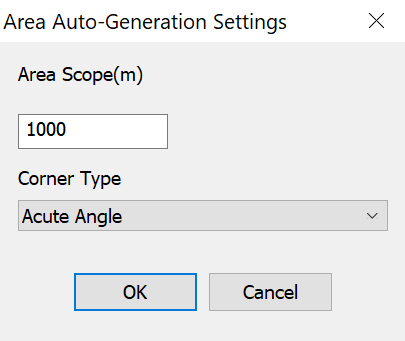
Set the [Area Scope] and [Corner Type] parameters, and click [OK].
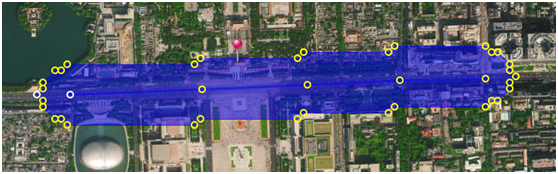
This feature is used to download map data within a specified range along a track, which can reduce unnecessary data.
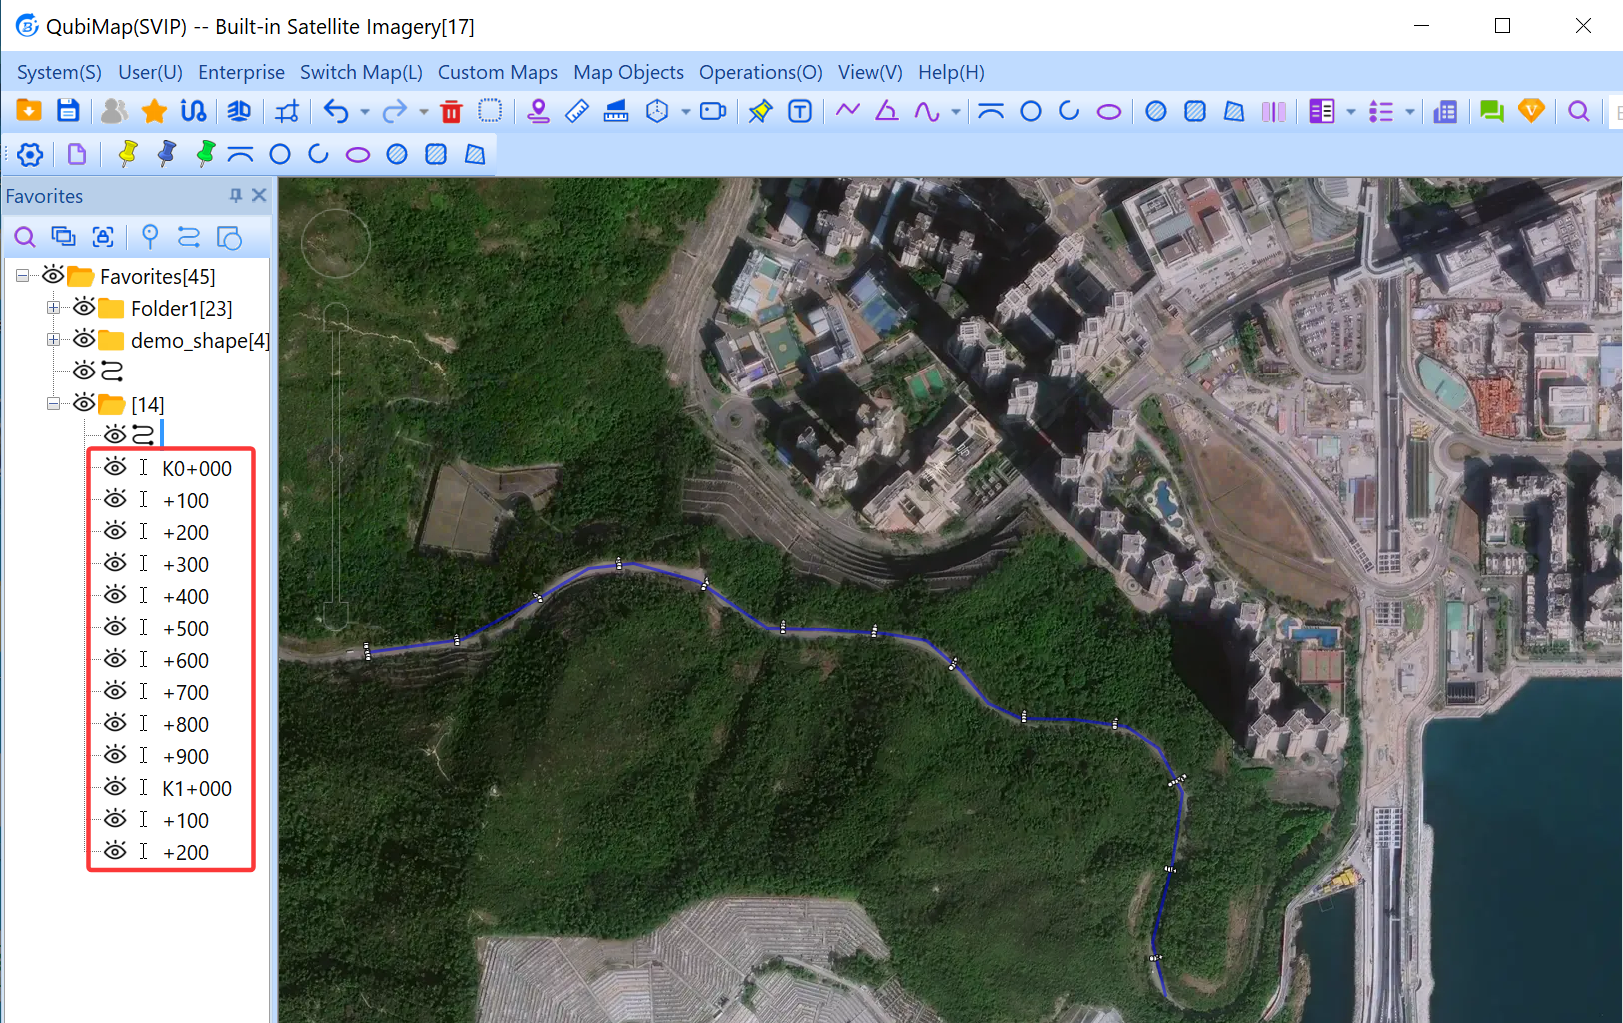
7) Generate Track Stations: Generate construction stations (mile markers) on a track. Set the parameters as needed, and click [OK].
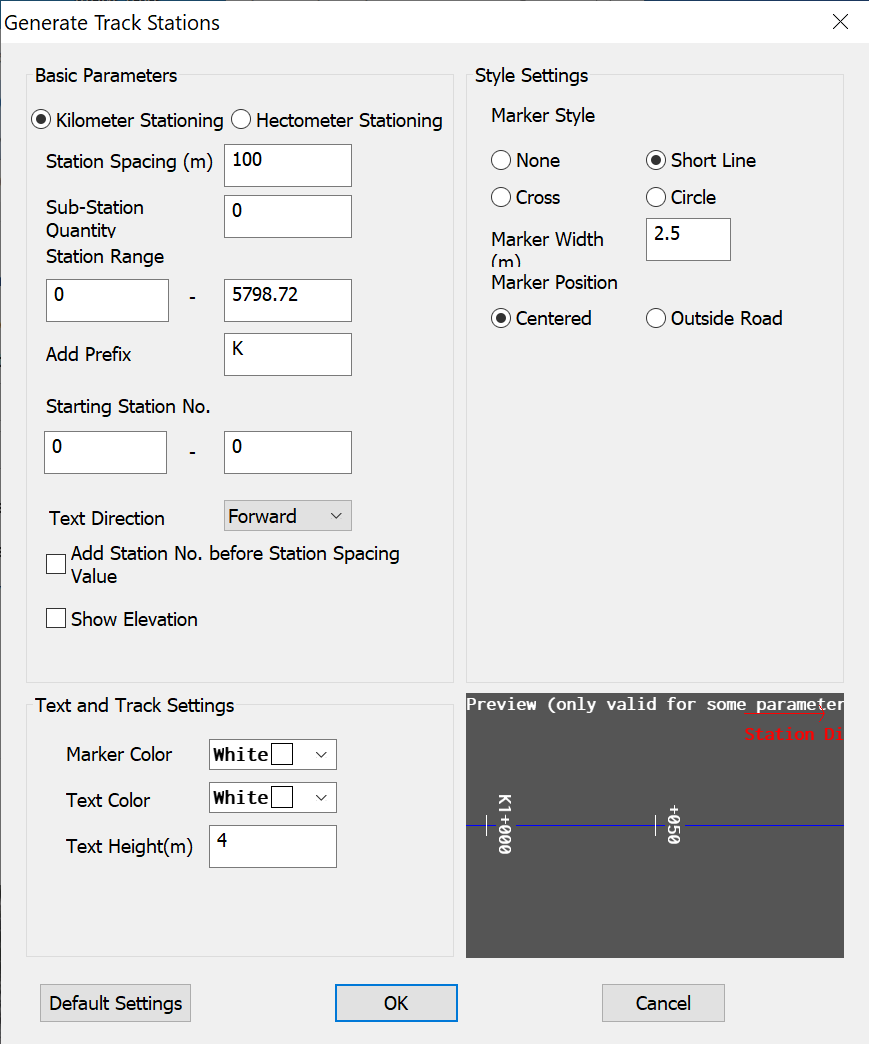
The generated stations (mile markers) are added to your favorites and displayed on the map.
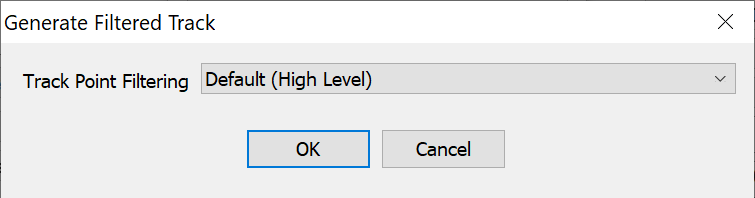
8) Generate Filtered Track: Generate a track after filtering out track points with significant deviations.
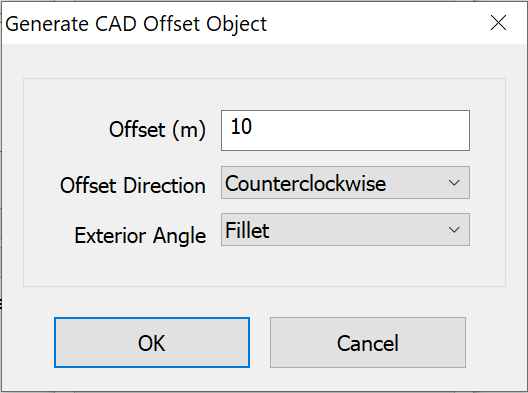
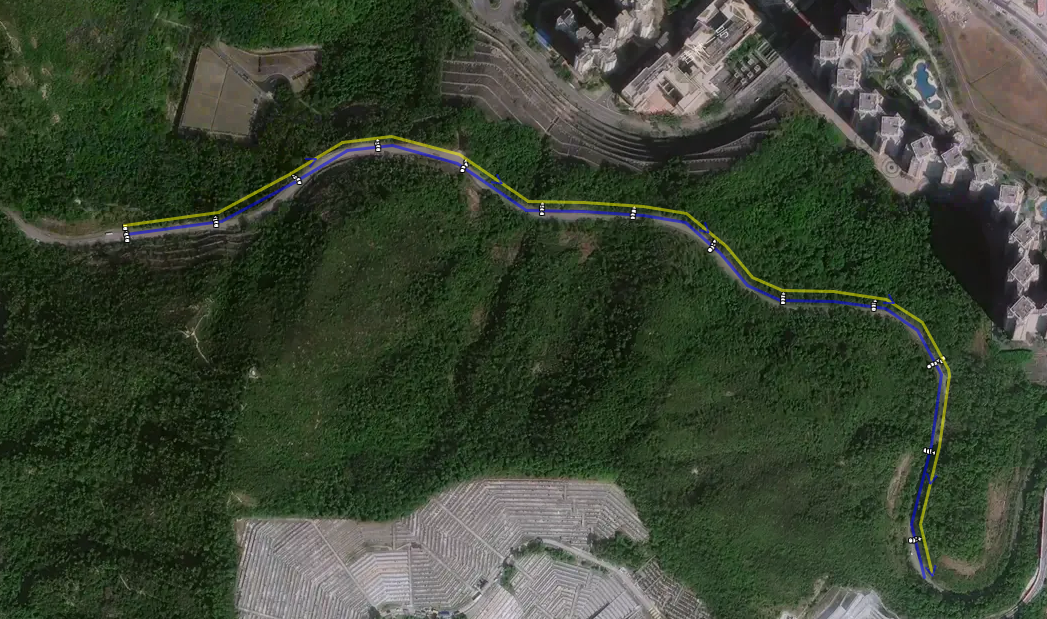
9) Generate CAD Object by Offset: Generate a CAD object by setting the offset from the track. Set the parameters as needed, and click [OK].
As shown in the following figure, the yellow curve is generated by shifting the original blue track 10 meters counterclockwise:
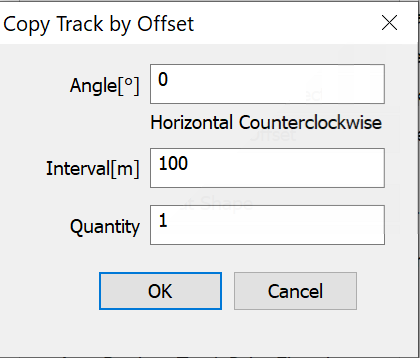
10) Copy Track by Offset: Generate multiple tracks by setting the offset from the track. Set the parameters as needed, and click [OK].
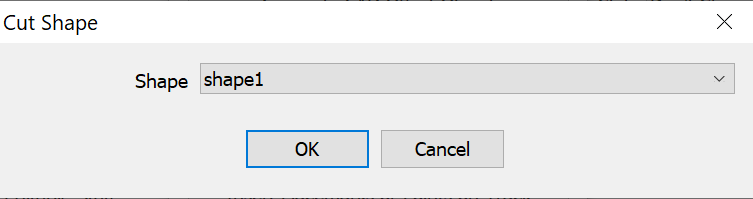
11) Cut Shape: Use the track to split a shape.
If the track points do not intersect and the track passes through a shape, you can select the shape and click [OK]. The shape will be split into two shapes along the track.
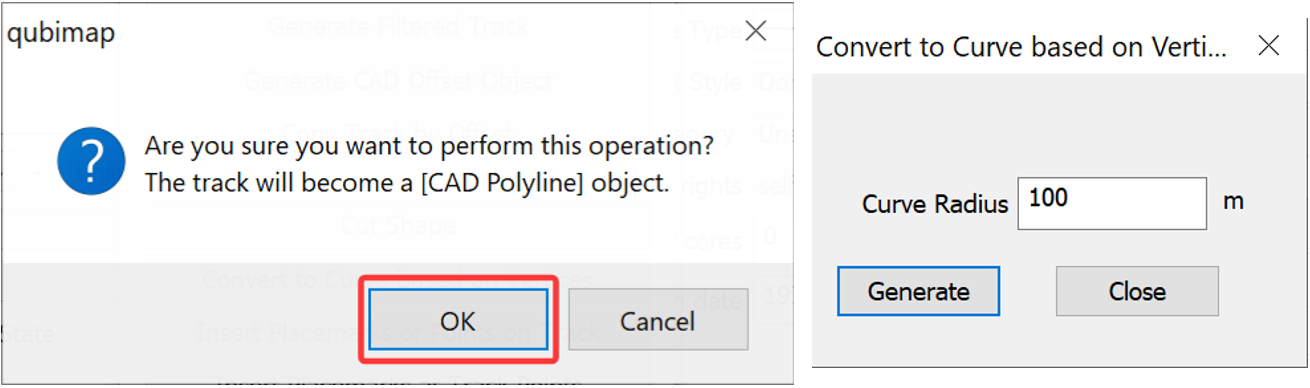
12) Convert to Curve Based on Vertices: Convert the track to a curve based on track vertices. Enter a curve radius, and click [Generate]. The track will become a CAD polyline object.
13) Insert Placemarks or Points on Track: Insert placemarks or points on the track based on your settings. Set the parameters, and click [Generate].
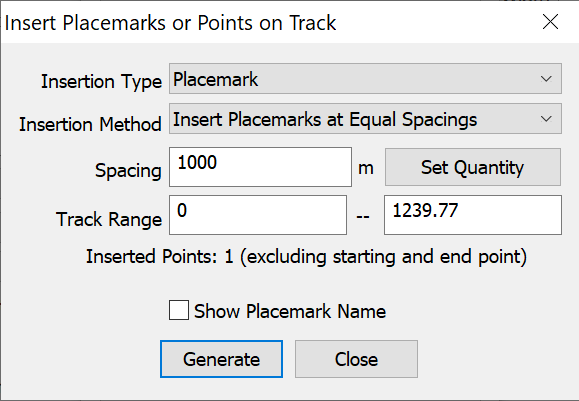
This feature can be used for pole route design in the telecommunications and power industries. It can be combined with the Folder Object Association feature to achieve more advanced display effect.
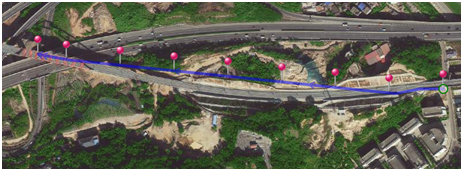
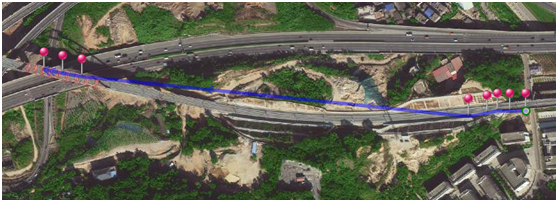
14) Insert Placemarks at Track Points: Insert placemarks on the track points. Set the parameters, and click [OK].
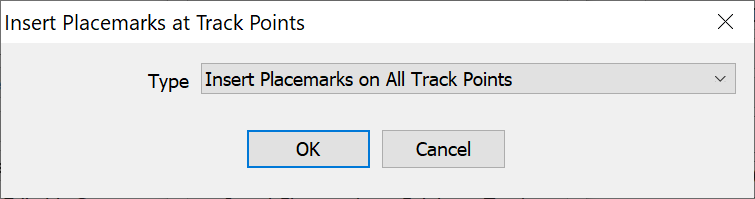
This feature can be used for manually drawn tracks in the telecommunications and power industries.
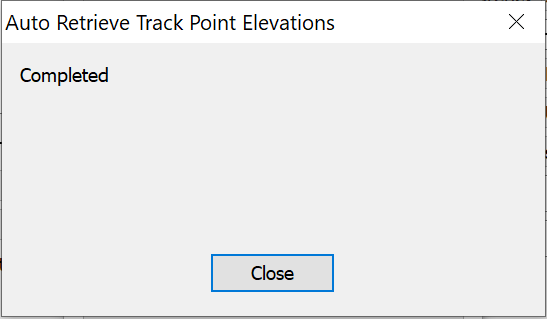
15) Auto Retrieve Track Point Elevations: Generate elevation data for track points based on contour line. The following message appears after you successfully retrieve the elevation data of track points:
16) Remove Track Point Time: This feature is used to export the track as a KML file, which can be further edited in Google Earth.
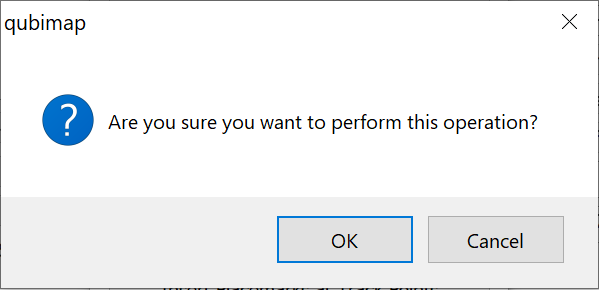
17) Swap Track Head and Tail: If you perform this operation on a track without the time information, the following message appears:
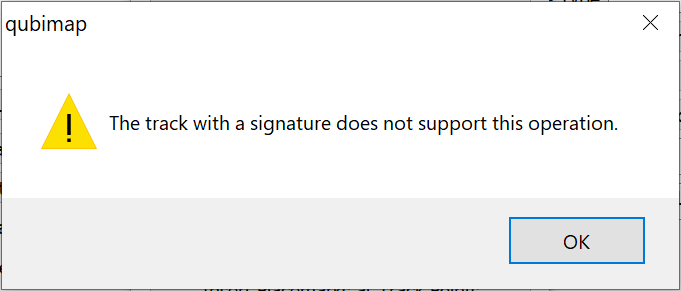
If you perform this operation on a track with the time information, the following message appears:
18) Edit Track Points: Edit the latitude, longitude, and altitude n of each track points.
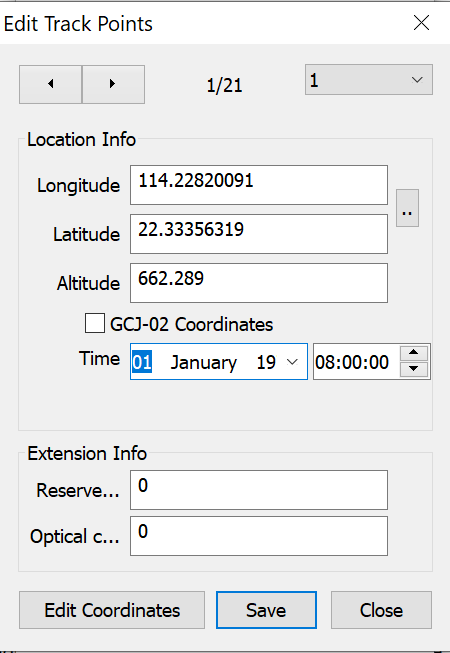
If you enable [Track Attribute Extension Settings] in [System Settings], you can edit the extension information. If you perform the [Advanced] → [Statistics] → [Export as CSV] operation, the edited information can be shown in the generated CSV table.
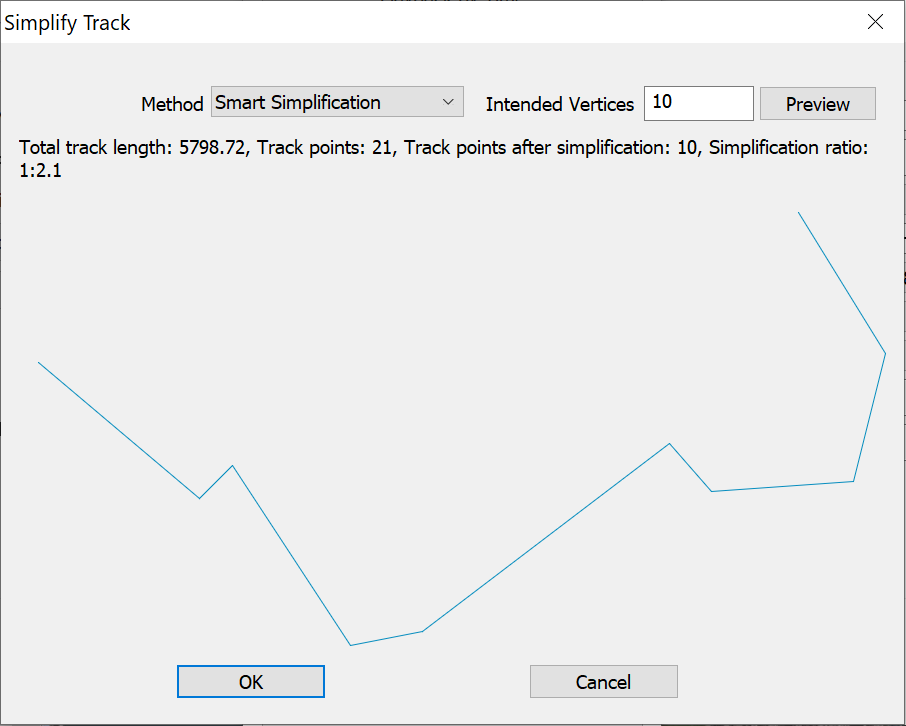
19) Simplify Track: Simplify the track based on the settings. After setting the [Method] and [Intended Vertices] parameters, click [OK]. The simplified track is added to your favorites and displayed on the map.
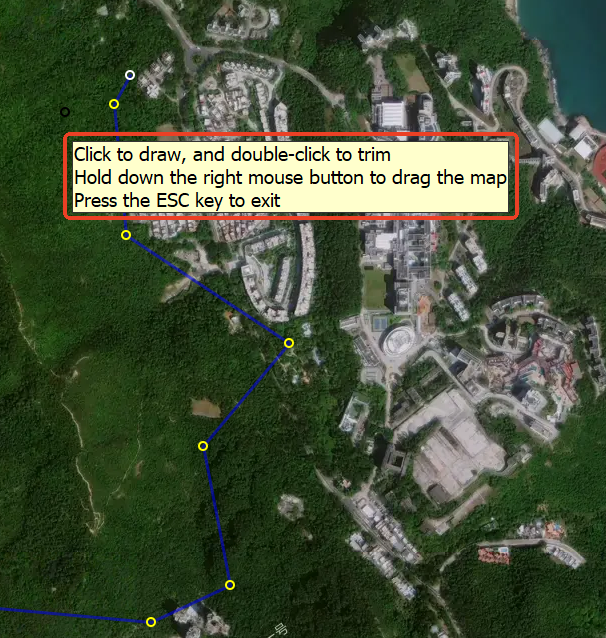
20) Trim Track: Click on the map to draw the trimming area, and double-click to trim the track.
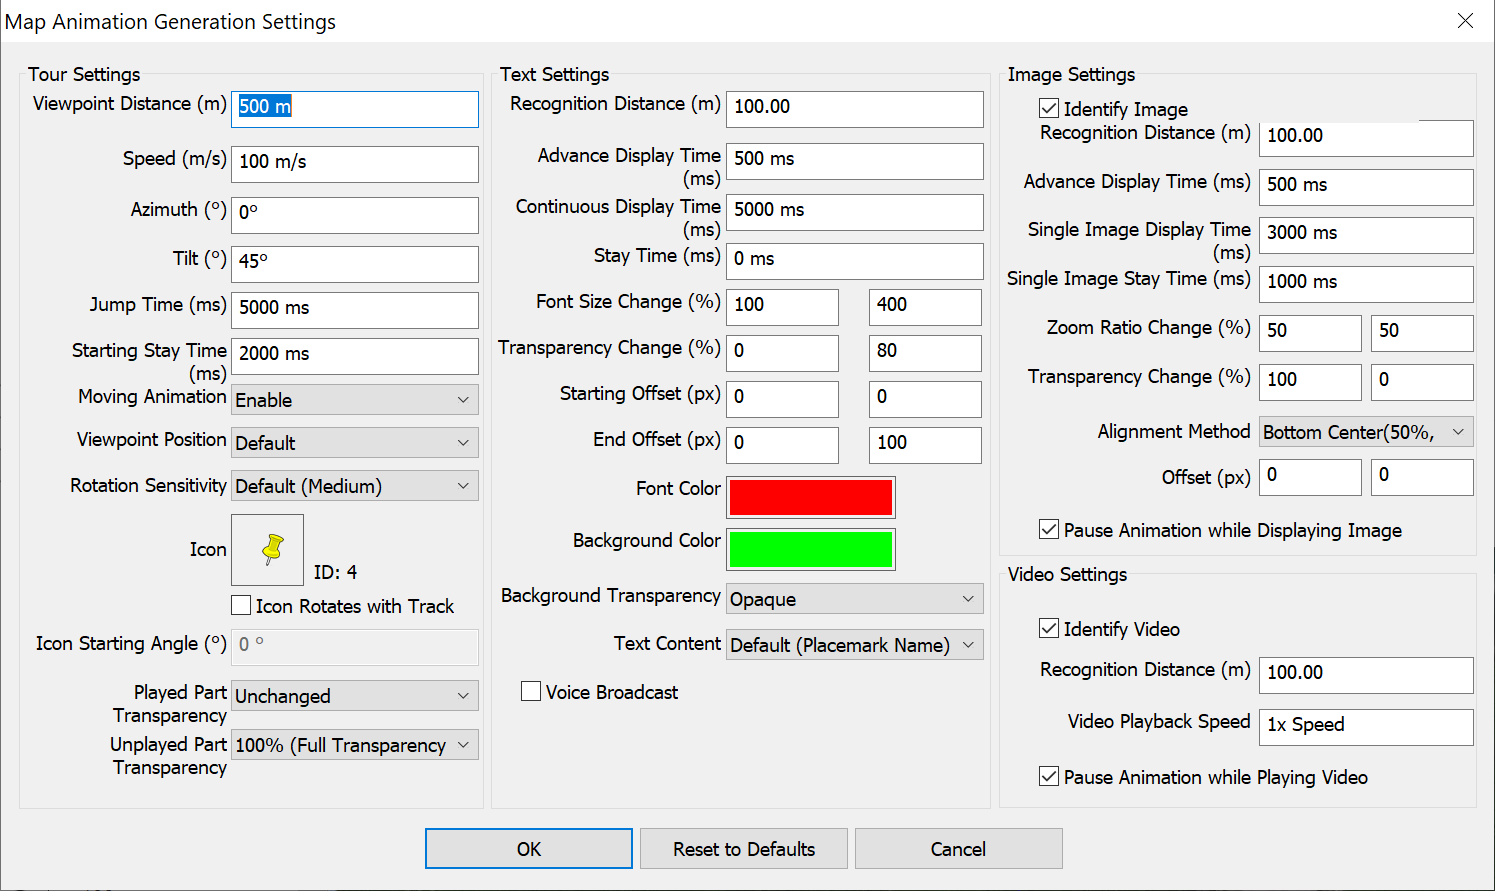
21) Create Map Animation: Generate a track tour animation. Set the parameters as needed, and click [OK]. The generated animation is added to your favorites.
For more information about map animations, see the help documentation on the official website.